When your AC gives up on a scorching hot day, it’s easy to assume the worst. But before you start picturing a massive repair bill, take a deep breath. More often than not, the reason your air conditioner isn’t working is surprisingly simple.
We get calls all the time for “broken” AC units that just have the wrong thermostat setting, a tripped breaker, or a power switch that got flipped off by accident. A few quick checks can often solve the problem in minutes and save you the cost of a service call.
Quick DIY Checks When Your AC Suddenly Stops
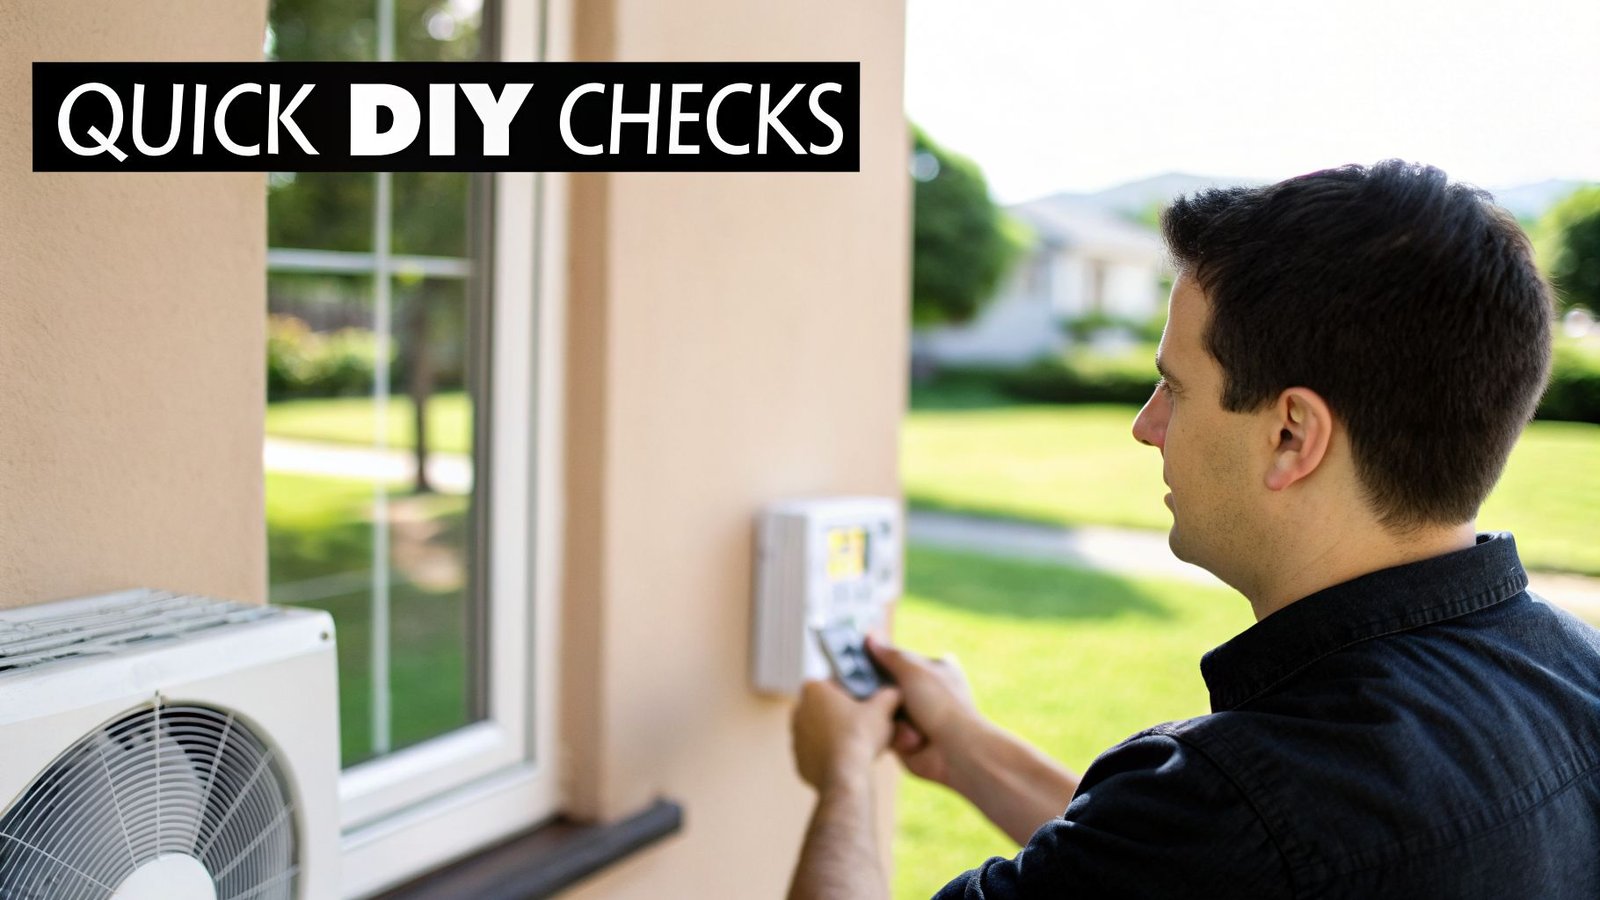
It’s a sweltering afternoon in Fresno, and the last thing you want is for your air conditioner to quit. When you’re left wondering, “why is my AC not working,” panic can set in fast. But hold off on calling for help just yet. These first few troubleshooting steps are safe for any homeowner, require no special tools, and can often get you back to cool comfort.
Many times, the issue isn’t a mechanical failure but something much simpler. A brief power surge, someone bumping the thermostat, or even just doing some yard work can be enough to interrupt your AC’s operation. By working through these easy fixes first, you can quickly rule out the common culprits.
Here’s a quick reference table for the first things you should look at.
Immediate AC Troubleshooting Checklist
| Check | What To Look For | Simple Solution |
|---|---|---|
| Thermostat | Incorrect settings, blank screen, or wrong mode. | Set to “Cool,” lower temp 5° below room temp, replace batteries. |
| Circuit Breaker | A switch in the “OFF” or middle position. | Flip the breaker fully “OFF,” then back “ON.” |
| Outdoor Disconnect | A switch or pull-out fuse in the “OFF” position. | Open the box and flip the switch to “ON.” |
Let’s walk through each of these checks in a little more detail.
Check Your Thermostat Settings
It might sound too obvious, but trust us—this is the #1 reason we find for an AC that “isn’t working.” Thermostat settings get changed accidentally all the time, whether by kids, cleaning crews, or just a stray bump.
- Is it set to “Cool?” First things first, make sure the system mode is actually on “Cool” and not “Off” or “Heat.” It happens!
- Drop the temperature. Set your thermostat at least 5 degrees below the current room temperature. This is the clearest way to tell your AC it’s time to kick on.
- What about the batteries? If you have a battery-powered thermostat, a blank screen is a dead giveaway. Pop in a fresh set of batteries. You’d be surprised how many “no cool” calls this simple step resolves.
Pro Tip: If your thermostat display is blank, always try replacing the batteries first. It’s an easy fix that can save you the time and expense of a professional service visit.
Inspect the Circuit Breaker
Your air conditioner is a high-powered appliance, so it has its own dedicated circuits in your electrical panel. A power surge from a storm or an overloaded circuit can cause the breaker to trip, which is a safety feature designed to protect your system.
Go to your home’s main electrical panel (usually in the garage, a closet, or the basement) and find the breaker labeled “AC,” “Air Conditioner,” or “HVAC.” A tripped breaker will be shifted to the “OFF” position or sometimes stuck in the middle. To reset it, push the switch all the way to “OFF” and then firmly back to “ON.”
If the breaker trips again right away, do not reset it a second time. This is a clear sign of a more serious electrical problem that needs a professional diagnosis.
Verify the Outdoor Unit’s Power Disconnect
Every outdoor AC condenser has a nearby power disconnect switch. It’s usually a small metal box mounted on the side of your house, right next to the unit itself. This switch is a safety feature that allows technicians to cut power directly at the unit while they work.
Sometimes, this switch gets turned off by accident during yard work or by someone who didn’t know what it was. Just open the box and check the position of the switch or pull-out fuse. If it’s in the “OFF” position, flip it back to “ON.” This might be all it takes to get your system powered up and cooling again.
When your AC goes out unexpectedly, a good practical troubleshooting guide can also walk you through these common issues. For even more expert advice, check out our other HVAC troubleshooting articles, where we cover a wide range of topics to help you stay comfortable.
Common AC Problems You Can Safely Fix Yourself
If those quick checks didn’t do the trick, don’t sweat it just yet. It’s time to look at a few simple, hands-on fixes you can handle yourself. Plenty of common AC issues don’t actually require an expensive service call.
Especially for homeowners in places like Bakersfield, where summer heat and dust are a constant battle, knowing how to tackle these basic problems is a skill that pays for itself. These fixes cover the most frequent culprits we see in the field, and with a few minutes of your time, you can often get your cool air flowing again.
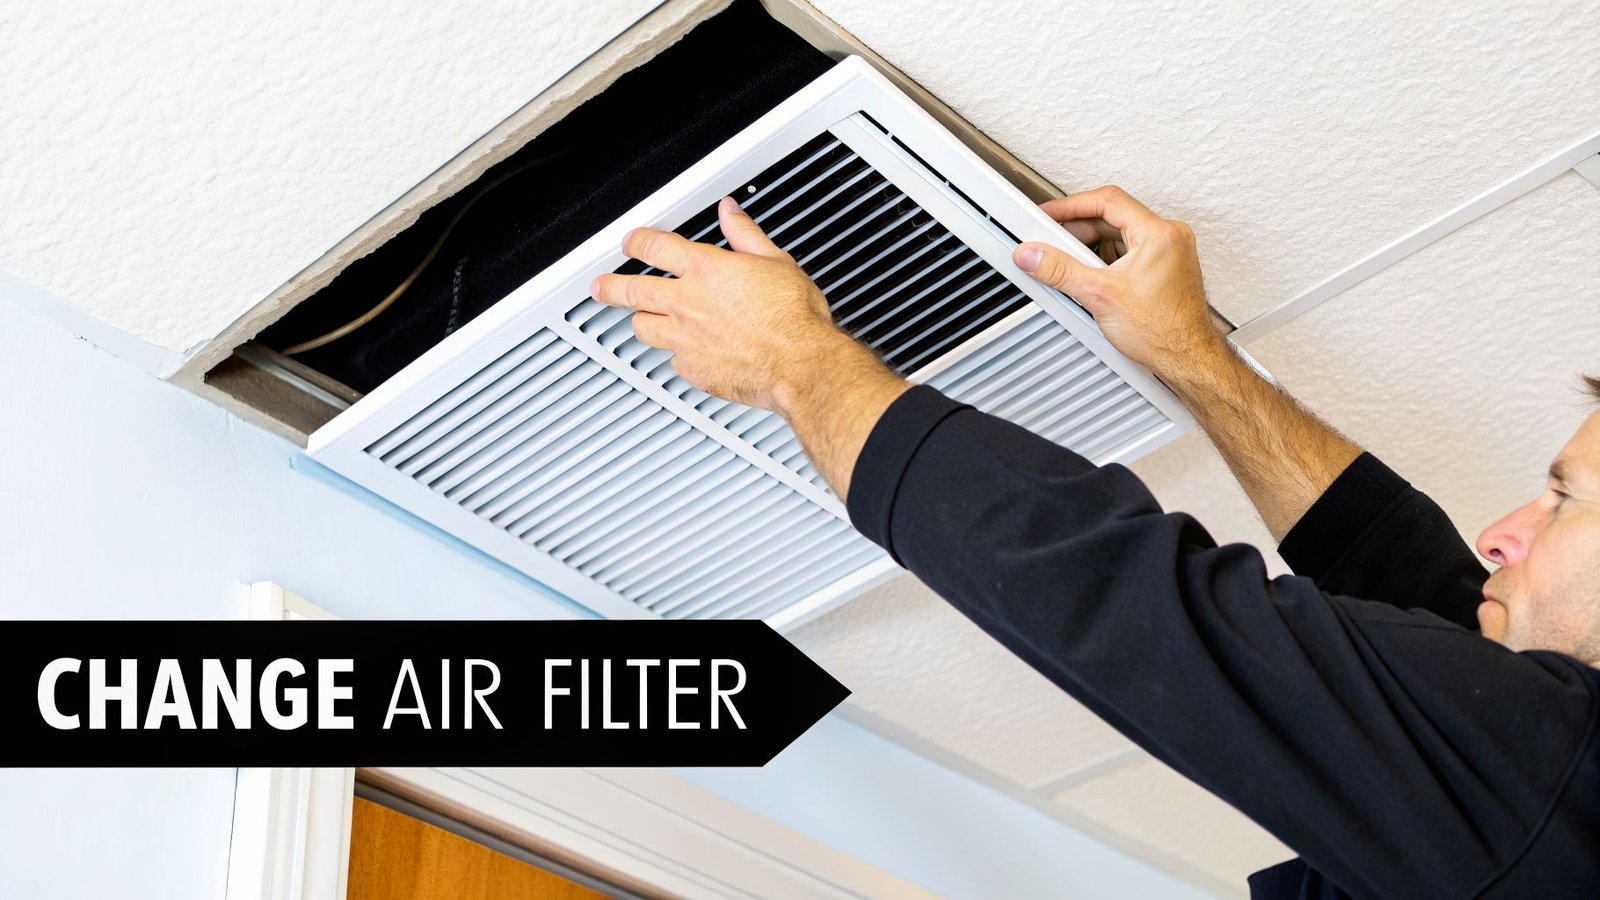
Replace Your Clogged Air Filter
We can’t say this enough: a dirty air filter is the number one cause of cooling problems. Think of it as trying to breathe through a thick, dusty blanket. It chokes the flow of air, forcing your entire system to work overtime just to keep up. Eventually, it can strain the system so much that it overheats and shuts down entirely.
Luckily, changing it is a straightforward task you can knock out in a few minutes.
Here’s how to get it done:
- Kill the Power at the Thermostat. First things first, turn your AC system completely off at the thermostat. This simple step prevents the unit from sucking in a bunch of dust and debris while the filter slot is open.
- Find and Remove the Old Filter. Your filter is usually in one of two spots: inside the main return air duct (that large grille you see in a central hallway or ceiling) or in a dedicated slot on the indoor air handler itself (often found in a closet, the attic, or garage). Simply unlatch the grille or slide open the access panel and pull the old filter out.
- Check the Size and Airflow Direction. Before you toss the old one, look at the size printed on its cardboard frame and find the arrow indicating the direction of airflow. You’ll need these for the new filter.
- Slide in the New Filter. Pop the new filter into the slot, making sure the airflow arrow points in the same direction as the old one—always pointing toward the furnace or air handler, not away from it.
- Finish Up and Restart. Close up the grille or access panel, then head back to your thermostat and turn the AC system back on.
A clean filter is your best defense against an AC breakdown. In dusty areas, check it monthly and plan on replacing it every 30-60 days. This one simple habit can prevent over 50% of common cooling issues and helps keep your energy bills in check.
Clean the Outdoor Condenser Unit
That big metal box outside your house is the condenser unit, and its job is to dump all the heat it pulled from inside your home. Over time, its delicate fins get clogged with an impressive amount of dirt, grass clippings, leaves, and cottonwood fluff. This gunk acts like a winter coat, trapping heat and making your AC struggle to cool down.
All you’ll need is a regular garden hose with a spray nozzle and some work gloves.
Here’s our professional method for cleaning it safely:
- Shut Off All Power. This is the most important safety step. You need to turn off the power in two places: at the main circuit breaker inside, and at the outdoor disconnect box, which is usually a small grey box mounted on the wall right next to the unit.
- Clear Away Debris by Hand. With your gloves on, pull away any large debris you see—leaves, twigs, grass, and whatever else has built up on top of and around the unit.
- Gently Wash the Fins. Using your garden hose, set the nozzle to a gentle spray. Carefully wash the fins from the top down. The goal is to rinse the dirt out of the fins, not blast it deeper inside. Never, ever use a pressure washer. The high-powered stream will bend the fragile aluminum fins flat, which will ruin your unit’s airflow and lead to a much more expensive repair.
- Let It Dry and Restore Power. Give the unit about an hour to air dry completely. Once it’s dry, you can turn the power back on—first at the disconnect box, then at the circuit breaker inside.
Clear a Clogged Condensate Drain Line
Your AC doesn’t just cool the air; it removes humidity. This moisture is collected and routed outside through a PVC pipe called a condensate drain line. If this line gets clogged with algae and sludge, water backs up, potentially causing water damage or triggering a safety switch that shuts your entire system down.
This is a common DIY fix you can often handle with a wet/dry shop vacuum.
- Turn Off the Power: Start by turning off the power to your AC unit at both the thermostat and the circuit breaker.
- Locate the Drain Line: Find the PVC pipe (usually white, grey, or black) exiting your indoor air handler unit. It will typically lead outside, often near the outdoor condenser unit.
- Clear the Blockage: Attach the hose of your wet/dry vacuum to the end of the drain line outside. Use your hand or duct tape to create a tight seal around the connection. Let the vacuum run for 2-3 minutes to suck out the clog. You might hear a “thump” as the blockage is dislodged.
- Restore Power: Once you’re done, turn the power back on.
Why Regular Maintenance Prevents Surprise Breakdowns
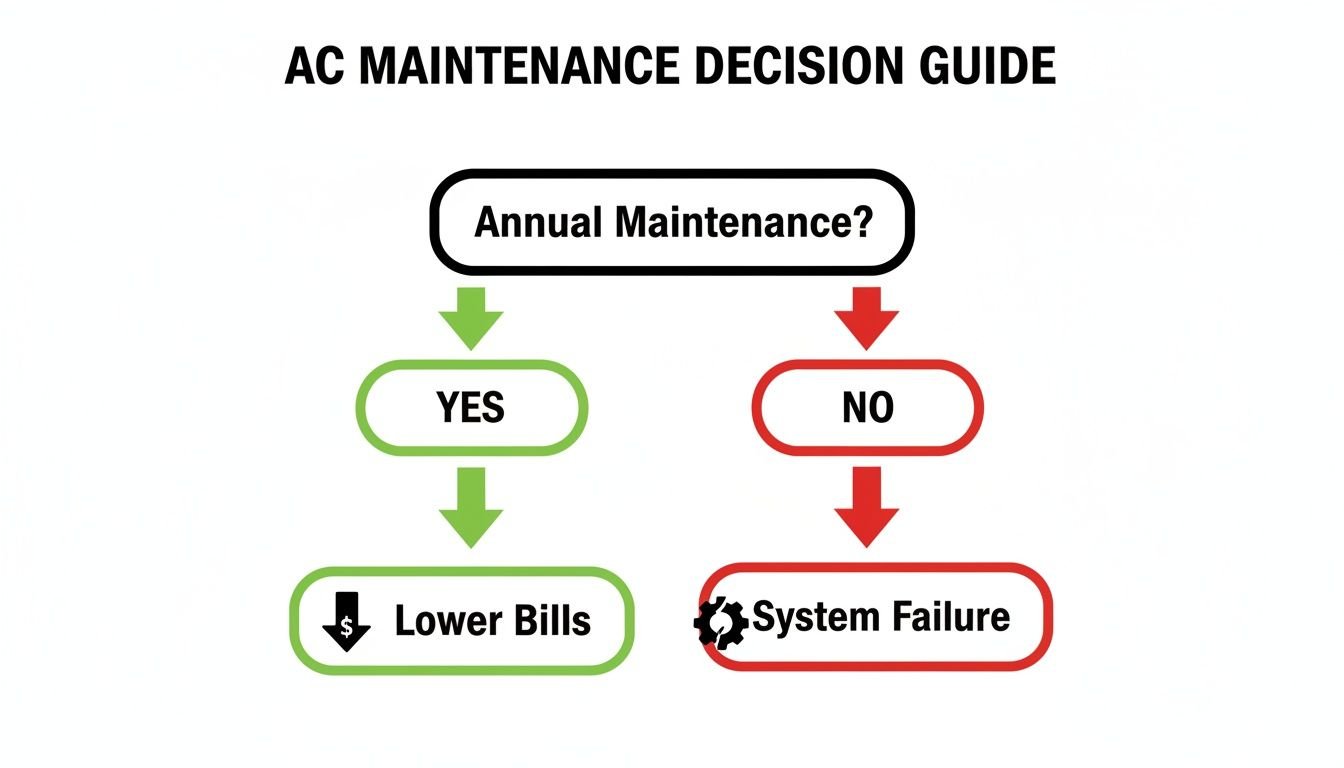
Think of professional AC maintenance as an annual physical for your system. You wouldn’t skip a doctor’s visit year after year and expect to stay in peak health, right? The same logic applies to your air conditioner, especially with the punishing heat we get here in the Central Valley.
Ignoring it is a gamble that almost always ends with a surprise breakdown on the hottest day of the year. We see it happen all the time.
This isn’t just about avoiding an inconvenient, sweaty afternoon; it’s about protecting a major investment in your home. Over time, small, unnoticed issues like a loose electrical wire, slowly leaking refrigerant, or a film of grime on the internal coils can quietly snowball into a catastrophic system failure.
The Real Cost of “If It Ain’t Broke”
It’s tempting to think, “My AC is working fine, so why pay for a service call?” We get it. But from our two decades of experience, we can tell you that this approach almost always costs more in the long run.
An AC system struggling with neglect has to work much harder to produce the same amount of cool air. You’ll see this show up as a painful spike in your monthly energy bills. More importantly, this constant strain grinds down critical components like the compressor and fan motor, leading them to fail years before they should. What could have been a simple, cheap adjustment during a tune-up can easily turn into a multi-thousand-dollar replacement.
Key Takeaway: Proactive maintenance is always, always cheaper than reactive repair. An annual service visit is a small, predictable expense that shields you from the massive, unexpected cost of an emergency breakdown.
What Our Technicians Actually Do
A professional tune-up goes far beyond just swapping out a filter or hosing down the outside unit. When a Monarch technician visits your home in Paso Robles for an annual service, we’re performing a deep, diagnostic check-up designed to catch problems before they leave you without cool air.
This involves work that requires specialized tools and years of training:
- Checking Refrigerant Levels: We use precision gauges to measure the refrigerant charge. Too little—or even too much—can fry your compressor, the heart of the system.
- Deep Cleaning Coils: We thoroughly clean both the indoor evaporator and outdoor condenser coils. Clean coils are absolutely critical for the system to transfer heat efficiently.
- Tightening Electrical Connections: We inspect and tighten every terminal. Loose connections are a serious fire hazard and a primary cause of component failure.
- Inspecting the Condensate Drain: We make sure the drain line is clear. A clog here can cause water damage and trigger an automatic system shutdown.
- Calibrating the Thermostat: We confirm your thermostat is “talking” to the system correctly, ensuring accurate temperature control and preventing wasted energy.
This comprehensive approach is why so many homeowners in our community rely on our professional AC maintenance plans. It delivers both real savings and priceless peace of mind.
It’s surprising, but a whopping 43% of homeowners in the U.S. skip these vital yearly check-ups. This neglect directly leads to clogged filters and dirty coils that choke off airflow, forcing the system to overwork itself to death. For homes in high-heat areas like Bakersfield, this oversight is a top reason an AC fails, leading to premature breakdowns and sky-high energy bills. You can learn more about how maintenance impacts system life by reviewing the U.S. Department of Energy findings.
Warning Signs That Demand A Professional HVAC Technician
While we’re all for a good DIY fix, there are times when you absolutely need to put down the tools and call a pro. Certain AC symptoms are more than just minor annoyances; they’re your system’s way of screaming for help.
Ignoring these serious warning signs can quickly turn a straightforward repair into a full-blown, wallet-draining system replacement. If you spot any of the issues below, your next move should be calling for a professional diagnosis.
Warm Air Blowing From Vents
This one is incredibly frustrating. The AC is clearly running, you can hear it humming away, but the air coming out of your vents is lukewarm or even warm. If you’ve already checked for a dirty filter and it’s clean, you’re likely dealing with a bigger problem.
More often than not, this points to a refrigerant leak. Refrigerant is the essential fluid that allows your AC to cool the air. It’s not like gas in a car—it doesn’t get “used up.” If your levels are low, it means you have a leak somewhere in the lines. A technician from a team like Monarch Home Services, which serves the San Luis Obispo area, has the specialized tools to find that leak, repair it, and safely recharge the system to the manufacturer’s exact specifications.
Important: Don’t just keep running the AC hoping it will fix itself. Running an air conditioner with low refrigerant will burn out the compressor, which is the heart of your system and by far the most expensive part to replace.
Strange or Loud Noises
You know what your air conditioner sounds like. It should be a consistent, low hum in the background. When new, jarring sounds start popping up, it’s time to pay attention.
- Grinding or Scraping: This is a bad one. It usually points to worn-out bearings in a fan motor. If you let it go, the motor will seize up completely.
- Squealing or Screeching: A piercing, high-pitched squeal can mean a failing belt or, more seriously, a compressor that’s operating under dangerously high pressure.
- Banging or Clanking: This is an internal component that has come loose or broken. It could be something like a piston pin or connecting rod just rattling around inside the compressor, causing major damage.
This is exactly why we talk about preventive maintenance so much. It’s not about upselling you; it’s about preventing these catastrophic (and expensive) failures.
A simple annual tune-up is the best way to catch these problems early, lower your energy bills, and avoid a complete system meltdown on the hottest day of the year.
Burning Smells and Frequent Cycling
A couple of other symptoms spell immediate trouble. If you smell something burning, it’s an urgent electrical issue. It could be overheated wiring or a motor on its last legs.
Don’t hesitate. If you notice a burning smell, shut off the power to your entire HVAC system at the circuit breaker immediately and call for emergency service.
Another red flag is frequent cycling, which is when the AC turns on and off every few minutes instead of completing a full cooling cycle. This short-cycling could be caused by an oversized unit, a refrigerant leak, or a bad thermostat. Whatever the cause, that constant starting and stopping puts incredible strain on the compressor and sends your energy bills through the roof.
What To Expect When You Call Monarch Home Services

Realizing your AC needs professional help is stressful enough—the service call itself shouldn’t add to your worries. When you call Monarch Home Services for a repair in a community like Visalia, our one and only goal is to restore your cool air and your peace of mind.
We know the biggest concerns are usually cost and trust. That’s why we’ve built our entire process around being completely upfront and transparent. From the moment you call, a real person will listen to your problem and work to schedule a technician who fits into your day.
The best part? We provide upfront pricing. After we diagnose the problem, we’ll give you a clear, itemized quote before we pick up a single tool. There are absolutely no hidden fees or surprise charges. You approve the price, or you don’t pay for the repair. Simple as that.
Our Diagnostic and Repair Process
When our certified technician arrives at your home, they won’t just start swapping out parts. Their first job is to perform a comprehensive diagnostic to find the exact root of the problem.
They’ll walk you through what’s wrong in plain English, showing you the issue and explaining why it likely failed. You’ll be given clear options for the repair, not just a single, expensive “take-it-or-leave-it” ultimatum. We believe in providing choices that fit your budget, whether it’s a quick fix to get you through the season or a more permanent solution for long-term reliability.
Of course, the best way to handle a repair is to see it coming. It helps to determine if your A/C will make it through the summer by looking for common warning signs so you can be proactive.
We see our job as more than just fixing an AC unit; it’s about empowering you with the right information. We want you to feel confident in your decision, understanding exactly what you’re paying for and the value it provides.
Saving Money With Our Membership Plan
During the service call, don’t be surprised if our technician mentions our membership plans. We’re not just upselling—we offer them because they genuinely save our customers money and make home comfort more predictable.
The benefits usually include:
- Deep Discounts on Repairs: Members get a 15% discount on all HVAC repairs.
- Waived Service Fees: That standard diagnostic fee? It’s often waived for members.
- Priority Service: When things get busy, you get bumped to the front of the line.
- Included Tune-Ups: We include annual maintenance visits to prevent those future breakdowns from happening in the first place.
This approach helps you take control of your home’s budget, turning what could be a large, unexpected repair bill into a predictable, manageable expense.
Frequently Asked Questions (FAQ)
My AC is running, but it’s not cooling my house. What should I do first?
If the fans are blowing but the air isn’t cold, start with the simplest fix: check your air filter. A clogged filter chokes airflow and is the #1 cause of this problem. If the filter is dirty, replace it. If that doesn’t work, you could have low refrigerant or a dirty outdoor coil. After checking the filter, your next step should be to call a professional technician in the Clovis area to diagnose the real issue.
How often should I really change my AC filter?
For a standard 1-inch filter, you should replace it every 30-90 days. In a dusty area like Bakersfield or if you have pets, stick to the 30-day end of that range. If you use a thicker 4- or 5-inch media filter, you can typically go 6-12 months between changes. A clean filter is the cheapest insurance against an AC breakdown.
I see ice on my AC unit. Is that bad?
Yes, ice on your AC lines or coils is a clear sign of a problem. It usually indicates either restricted airflow (start by checking your filter!) or a refrigerant leak.
DIY Step: Turn your thermostat’s cooling mode to “Off” but leave the fan set to “On.” This will help the ice melt. Once it has thawed, you’ll need a technician to find and fix the underlying cause. Don’t just turn the AC back on, as the ice will return and could cause serious damage to your compressor.
Is it worth repairing an old AC unit?
Use the 50% rule: If the cost of a repair is more than 50% of the cost of a new system, replacement is usually the smarter investment. Also, if your unit is over 12-15 years old and needs frequent repairs, the money you save on energy bills with a new, high-efficiency model will help offset the initial cost.
What tools do I need for basic DIY AC maintenance?
For the fixes a homeowner can safely perform, you don’t need much. Have these on hand:
- A new air filter (correct size for your system)
- A garden hose with a spray nozzle
- Work gloves
- A wet/dry shop vacuum (for clearing the drain line)
Anything beyond that, especially tasks involving electrical components or refrigerant, requires specialized tools and an EPA license, making it a job for a pro like the technicians at Monarch Home Services.
